Share this article

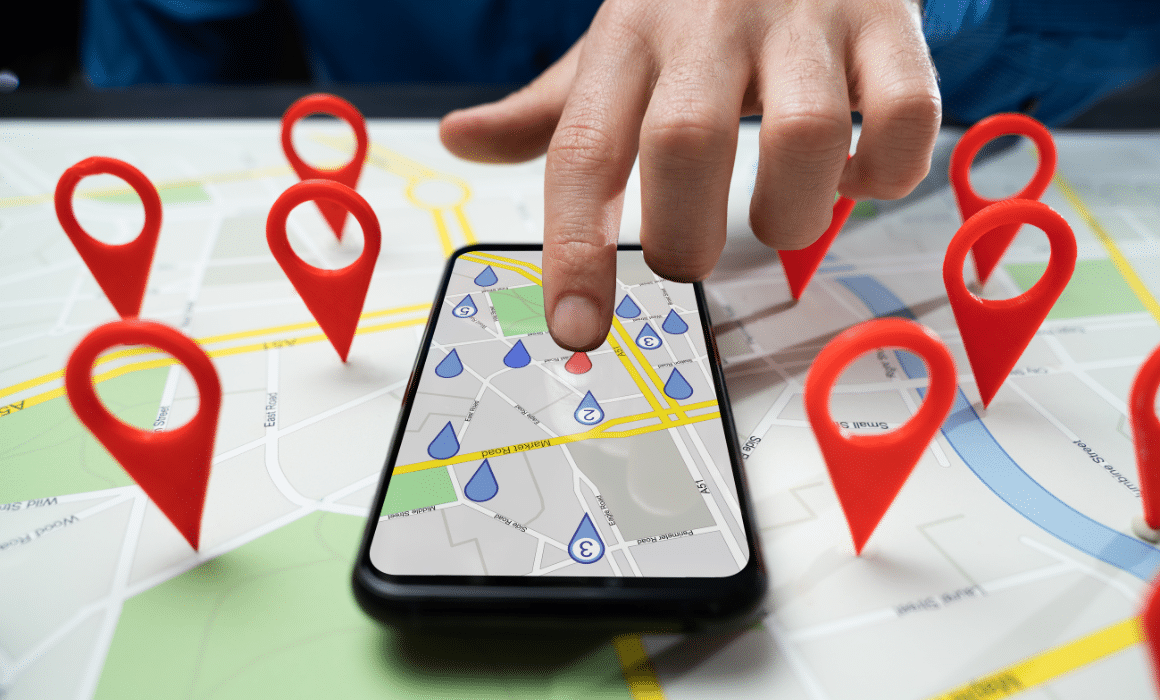
Adding a Google Map to your website is one of the easiest ways to make your site more useful. Whether you’re trying to show customers where your business is located or highlight multiple locations, it helps people find you faster and builds trust.
Here’s how to do it without overcomplicating things.

Adding a Google Map with One Location
If you just need to show a single address, this is the quickest option.
Start by going to Google Maps and searching for your business or the location you want to display. Once the map loads, look for the “Share” button and click it.
A small window will pop up. From there:
- Click “Embed a map” at the top
- Choose the size that fits your website
- Copy the HTML code provided
Now go to your website and paste that code wherever you want the map to appear. If you’re using WordPress, you can paste it into a custom HTML block.
That’s it. Your map will show up live on your site.
Adding a Map with Multiple Locations
If your business has more than one location, you’ll need to create a custom map.
Start by logging into your Google account, then go to Google My Maps. From there, click “Create a new map.”
You’ll see a blank map where you can start adding locations.
- Use the search bar to find your first location
- Click “Add to map”
- Repeat this for each location you want to include
Once you’ve added everything, click on the map title to give it a name and description so it’s easier to manage later.
Making Your Map Public and Embedding It
Before you can add your map to your website, you need to make it visible.
- Click “Share”
- Change access to Public
- Save your changes
Then:
- Click the menu icon near your map title
- Select “Embed on my site”
- Copy the embed code
Just like before, paste that code into your website where you want the map to appear.
Using the Google Maps API (When You Need More Control)
Some websites use the Google Maps API instead of simple embed codes. This gives you more flexibility, like pulling in dynamic locations or customizing how the map works.
To use the API, you’ll need to:
- Create a Google Cloud account
- Set up a project
- Generate an API key
Google now requires billing information for API use, even if you stay within free limits. Once you have your API key, you can connect it to your website or map plugin.
Every platform handles this a little differently, so if you’re not sure where to add the key, it’s usually in your website settings or through a plugin.
Final Thoughts
Adding a Google Map to your website is simple, but it makes a big difference. It helps users find you faster, improves user experience, and makes your business feel more legitimate.
If you only need one location, the embed option takes a couple minutes. If you have multiple locations, creating a custom map is worth the extra step.
Either way, it’s one of those small updates that actually makes your website more useful.

We Want To Talk To You About Your Marketing Goals.
Let’s Supercharge Your Online Growth!
By submitting the form, you agree to the Terms of Service and Privacy Policy
We Want To Talk To You About Your Marketing Goals.
Let’s Supercharge Your Online Growth!


