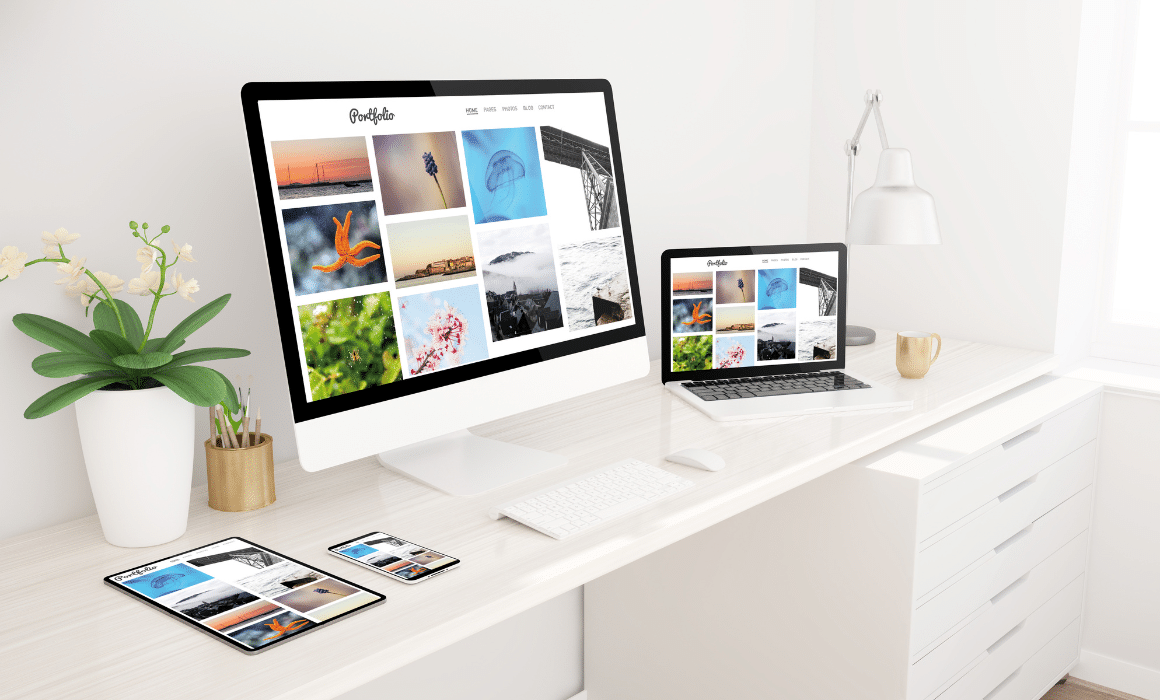
Adding a photo gallery to your website will allow users to view photos all in one place.
This is the tutorial video. Below it are the written steps.

Open all pages
First, you are going to want to hover over page in the navigation menu and click on all pages.


Click on a page that you want to add a photo gallery to.
It should take you to a page that looks like this. What you are going to want to do is click on a page that you want to add a photo gallery to.


Click add media
Once you have done that click add media.


Click create gallery
Once you are on this page in the left menu click create gallery at the top.


Edit gallery
From here click what photo’s you want to add to the gallery. As you can see, I added all 2. Once you have selected what photos you want in the gallery click create new gallery.

Now you can edit what the gallery will look like by changing the gallery settings.


Insert gallery
Now that you have created the gallery click insert gallery to put it on your page.

To see what your gallery will look like on your website click preview.

This is what it looks like on my website.


Click update
If you like the way it looks, go back to the edit page and click update and now your gallery has been added to your page.


