Share this article

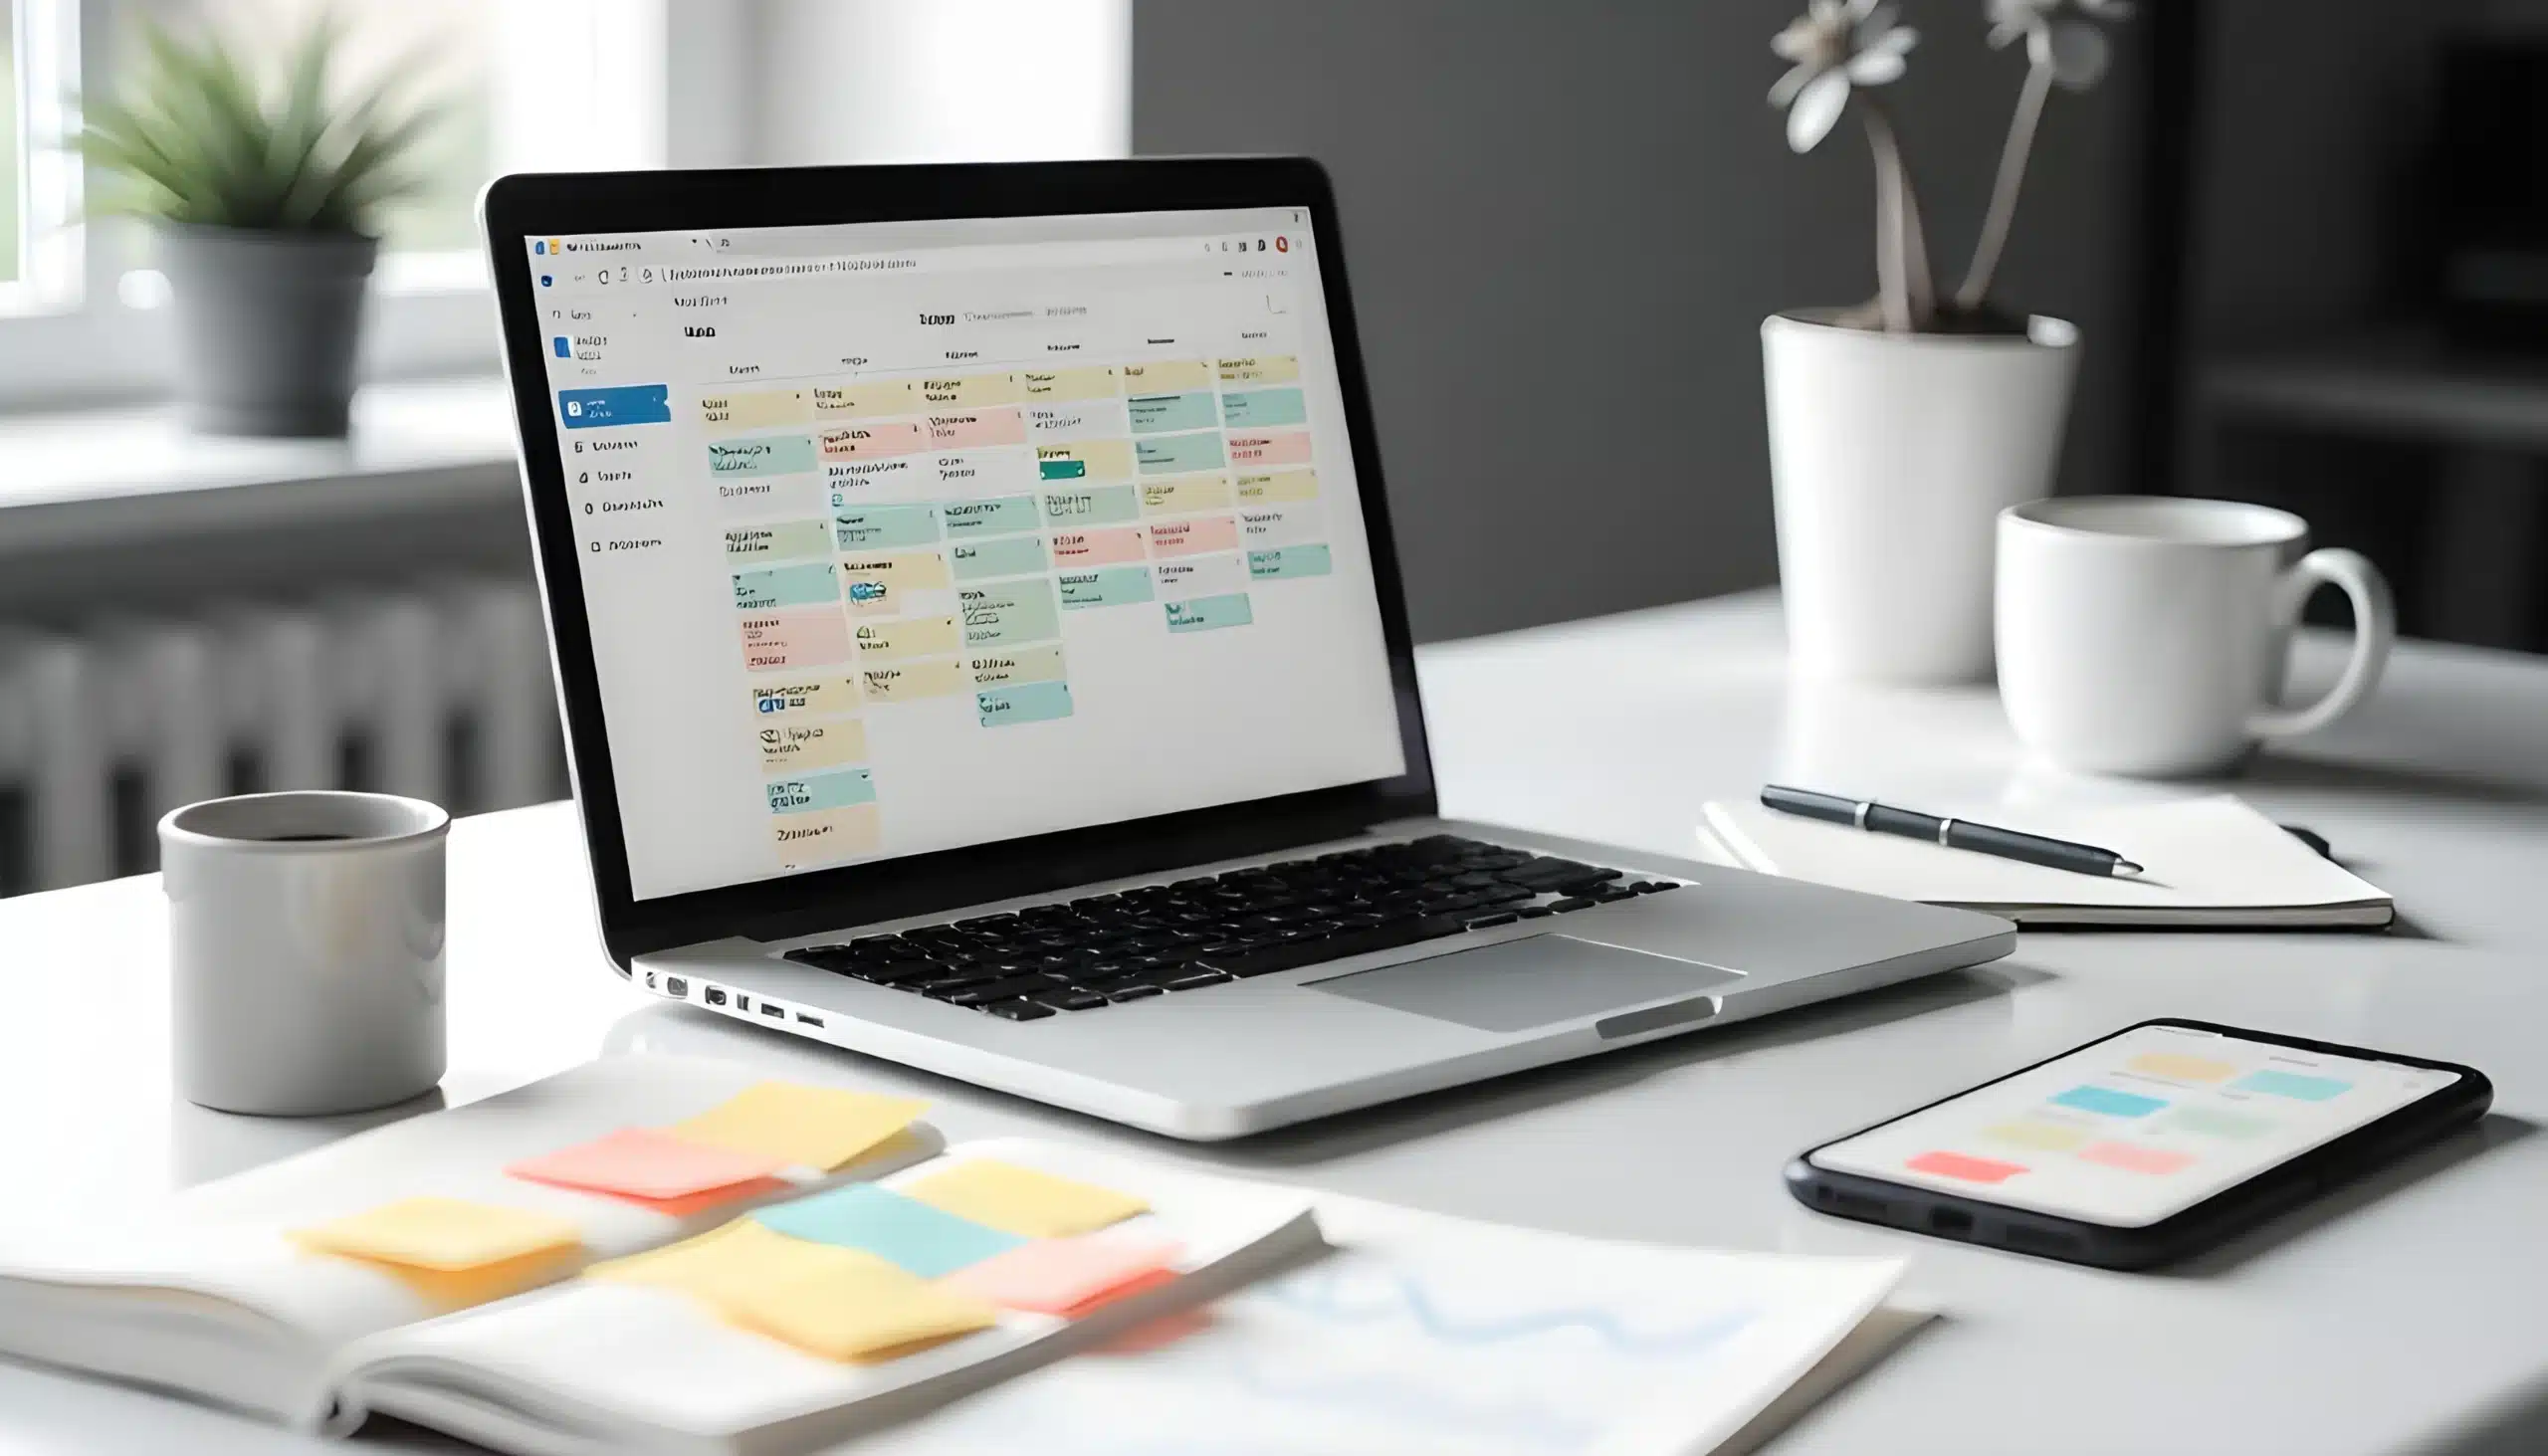
The WordPress Block Editor—also known as Gutenberg—has transformed how users create and manage content. Instead of working in a single text box, you now build pages using individual “blocks” for text, images, videos, buttons, and more.
In this guide, you’ll learn how to use the WordPress Block Editor step by step, along with tips to create engaging, SEO-friendly content.

What Is the WordPress Block Editor?
The WordPress Block Editor is a modern content editing system that allows you to build pages using modular content elements called blocks. Each block represents a specific type of content—like a paragraph, heading, image, or button—and can be customized and rearranged easily.
Unlike the older Classic Editor, which functions more like a word processor, the Block Editor gives you greater control over layout and design directly within the page.
Why Use the Block Editor?
The Block Editor offers several advantages for marketers, business owners, and content creators:
- Visual content creation – See your layout as you build it
- Flexible design options – Add columns, buttons, and media easily
- No coding required – Build professional pages without developers
- Improved user experience – Drag-and-drop functionality simplifies editing
With over 100+ content blocks and patterns available, you can create dynamic pages without relying on third-party page builders.
How to Create a Page or Post in the Block Editor
1. Add a New Page or Post
From your WordPress dashboard:
- Go to Pages → Add New or Posts → Add New
This will open the Block Editor interface.
2. Add a Title
At the top of the page, enter your page or post title. This will also become your H1 heading, which is important for SEO.
3. Add Content Blocks
Click the “+” (Add Block) button to insert new content.
Common blocks include:
- Paragraph (text)
- Heading (H2, H3, etc.)
- Image
- Video
- Button
- List
Each block can be moved, edited, and styled independently.
4. Customize Your Blocks
Each block comes with its own settings panel where you can:
- Change alignment (left, center, right)
- Adjust colors and typography
- Add links or media
- Modify spacing and layout
This makes it easy to design visually appealing pages without extra tools.
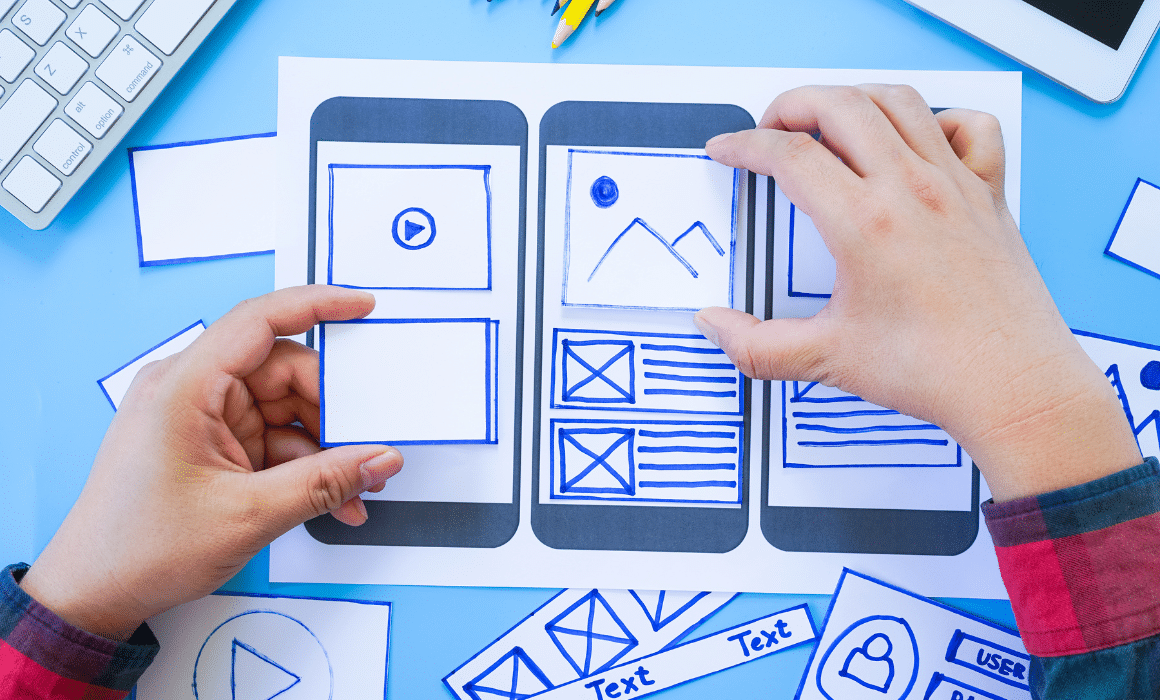
5. Add Media (Images, Videos, Audio)
To enhance your content:
- Add an Image block or Media block
- Upload files or select from your media library
Visual content improves engagement and helps break up text for better readability.
6. Rearrange Content Easily
Drag and drop blocks to reorder them, or use the up/down arrows in the toolbar.
This flexibility allows you to experiment with layout without rewriting content.
7. Preview Your Page
Click Preview to see how your page will look on desktop, tablet, or mobile devices.
8. Publish Your Content
Once you’re satisfied:
- Click Publish to make your page live
Essential Blocks You Should Know
Here are some of the most useful blocks for creating high-performing content:
- Heading Block – Structure your content for SEO
- Image Block – Add visuals to improve engagement
- Button Block – Drive conversions with CTAs
- Columns Block – Create multi-column layouts
- Spacer Block – Improve readability and design
- More Block – Control excerpts on blog feeds
Block Editor vs. Classic Editor
| Feature | Block Editor | Classic Editor |
|---|---|---|
| Layout control | Advanced | Limited |
| Visual editing | Yes | Minimal |
| Drag-and-drop | Yes | No |
| Content structure | Block-based | Single text field |
The Block Editor is now the default in WordPress and continues to receive updates and improvements.
SEO Tips for Using the Block Editor
To get the most out of your content:
- Use heading blocks (H2, H3) for keyword structure
- Add alt text to images for accessibility and SEO
- Include internal links using link tools
- Use buttons and CTAs to increase conversions
- Keep paragraphs short for readability
Final Thoughts
The WordPress Block Editor makes it easier than ever to create visually engaging, high-performing web pages without technical expertise. While it may take a little time to get used to, its flexibility and power make it an essential tool for modern websites.
If you’re looking to improve your website content or need help optimizing your WordPress site, working with a digital marketing agency like Moduet can help you get better results faster.

We Want To Talk To You About Your Marketing Goals.
Let’s Supercharge Your Online Growth!
By submitting the form, you agree to the Terms of Service and Privacy Policy
We Want To Talk To You About Your Marketing Goals.
Let’s Supercharge Your Online Growth!