Share this article

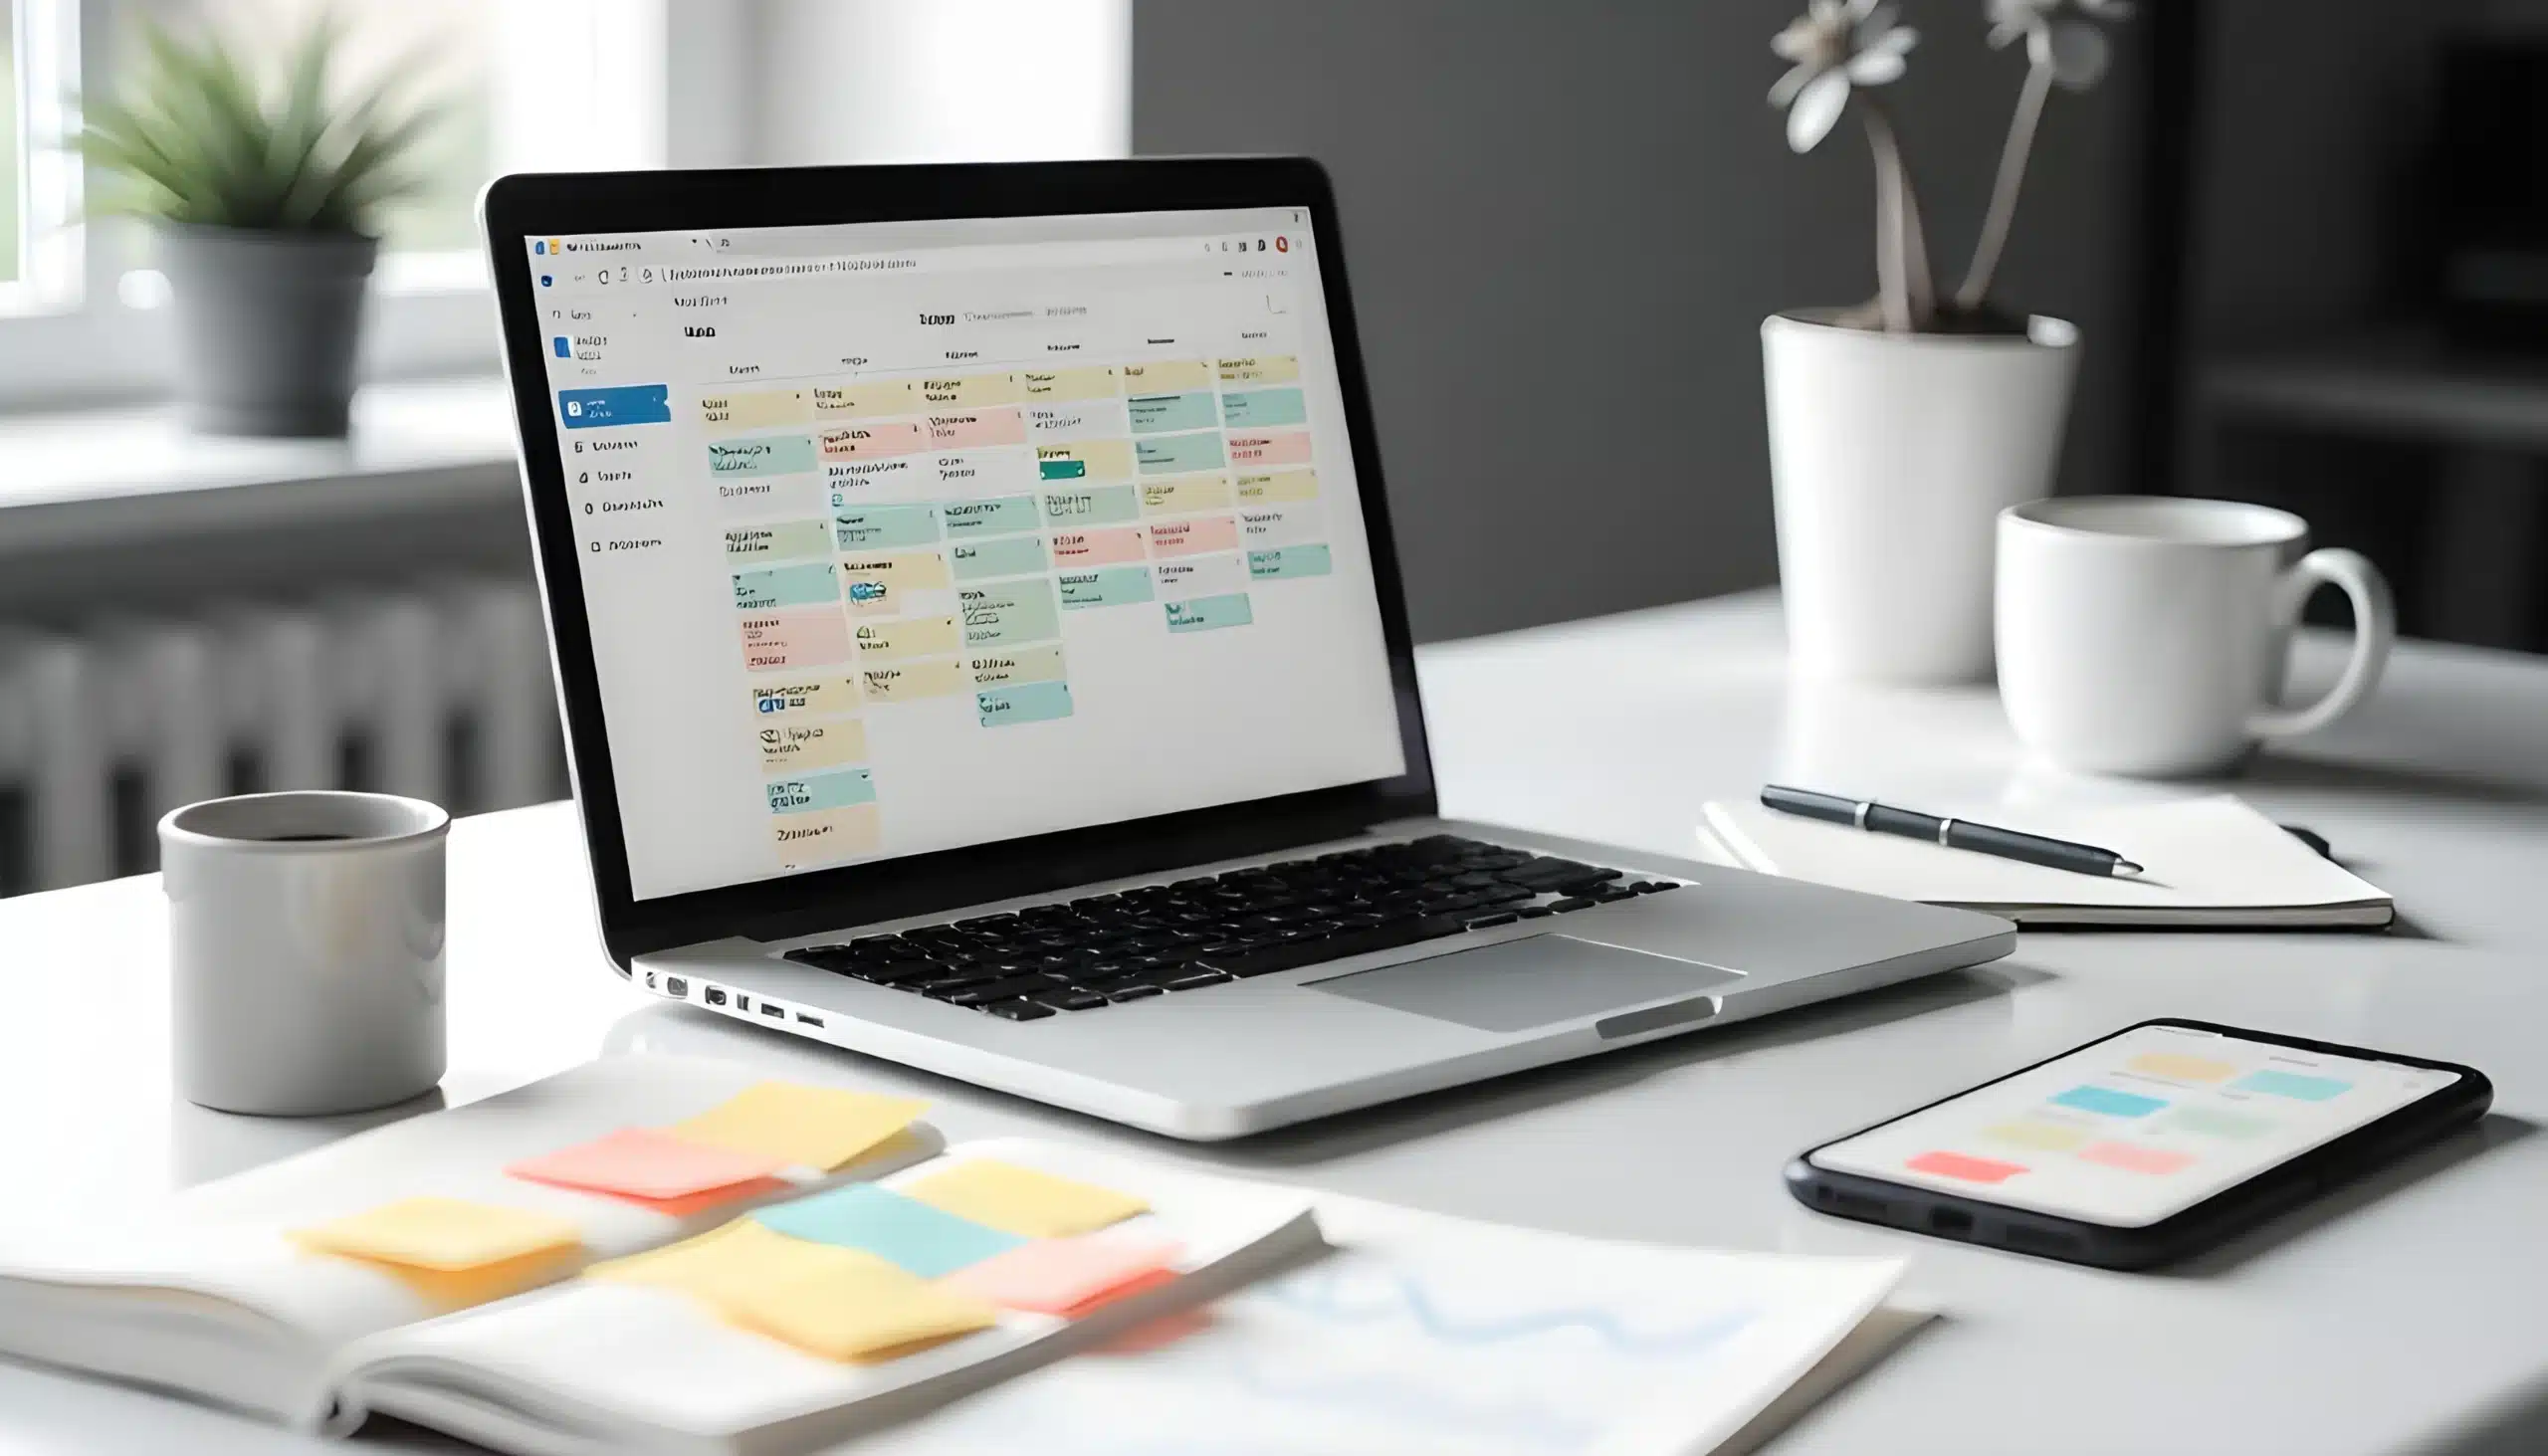
Images play a major role in creating an engaging website. Whether you’re publishing blog posts, updating service pages, or showcasing products, knowing how to properly add images in WordPress helps improve both user experience and SEO.
In this guide, you’ll learn how to upload images to WordPress, place them inside pages and posts, optimize them for search engines, and improve website performance.

Why Images Matter in WordPress
Adding images to your WordPress website helps:
- Make content easier to read
- Improve visual appeal
- Increase user engagement
- Support SEO efforts
- Enhance accessibility
- Improve social media sharing
Optimized images can also help your pages rank better in Google Images and improve page load speed when handled correctly.
How to Add an Image in WordPress
The exact steps may vary slightly depending on whether you’re using the Block Editor (Gutenberg) or the Classic Editor, but the process is generally straightforward.
Method 1: Add Images Using the WordPress Block Editor
Most modern WordPress websites use the Block Editor by default.
Step 1: Open the Page or Post
Log in to your WordPress dashboard and navigate to:
- Pages → Add New
or - Posts → Add New
You can also edit an existing page or post.
Step 2: Add an Image Block
Inside the editor:
- Click the + (Add Block) button
- Search for Image
- Select the Image Block
You’ll now see options to:
- Upload an image
- Choose from the Media Library
- Insert from a URL
Step 3: Upload Your Image
Click Upload and select an image from your computer.
WordPress supports common image formats including:
- JPG / JPEG
- PNG
- GIF
- WebP
After uploading, the image will automatically appear inside your content.
How to Add Images Using the Classic Editor
Some websites still use the Classic Editor plugin.
To add an image:
- Open the page or post editor
- Click the Add Media button
- Upload a new image or choose one from the Media Library
- Click Insert into Page
The image will then appear within your content area.
How to Edit Images in WordPress
Once an image is added, WordPress allows you to customize its appearance.
You can:
- Resize images
- Align images left, center, or right
- Add captions
- Add links
- Crop or rotate images
- Replace images
Simply click the image inside the editor to access the editing toolbar.
Best Practices for WordPress Image SEO
Uploading images is only part of the process. Proper image optimization helps improve rankings and page speed.
1. Rename Image Files Before Uploading
Avoid generic file names like:
IMG_2045.jpg
Instead, use descriptive keywords:
wordpress-image-upload-guide.jpg
Search engines use file names to better understand image content.
2. Add Alt Text
Alt text describes your image for search engines and screen readers.
Example:
Woman uploading images to a WordPress website
Good alt text improves accessibility and SEO.
3. Compress Large Images
Large image files can slow down your website.
Before uploading:
- Resize images appropriately
- Compress files using tools or plugins
- Use modern formats like WebP when possible
Faster-loading websites often perform better in search results.
4. Use Relevant Images
Choose images that directly support your content.
Relevant visuals help users better understand your topic and improve engagement metrics.
How to Access the WordPress Media Library
Every uploaded image is stored in the Media Library.
To access it:
- Log in to WordPress
- Click Media in the dashboard menu
From there, you can:
- View uploaded files
- Edit image details
- Copy image URLs
- Delete unused media
- Organize content
Common WordPress Image Issues
Images Upload Slowly
Possible causes include:
- Large file sizes
- Limited hosting resources
- Unsupported file formats
Compressing images before upload usually helps.
Images Look Blurry
Blurry images often happen when:
- Images are stretched too large
- Low-resolution files are uploaded
- Incorrect dimensions are used
Use high-quality images sized correctly for your website layout.
Images Aren’t Displaying Properly on Mobile
Responsive themes usually handle this automatically, but oversized images can still create layout problems.
Test your pages on desktop and mobile devices after publishing.
Recommended Image Sizes for WordPress
While dimensions vary by theme, these are good general guidelines:
| Image Type | Recommended Width |
|---|---|
| Blog Featured Image | 1200px |
| Full Width Banner | 1920px |
| Inline Blog Images | 800–1200px |
| Thumbnail Images | 300–600px |
Final Thoughts
Adding images to WordPress is simple, but optimizing them correctly can make a major difference in website performance, accessibility, and SEO.
By using descriptive file names, adding alt text, compressing files, and choosing relevant visuals, you can create a more engaging website that performs better in search results.
If you need help improving your WordPress website’s SEO, content strategy, or website performance, MoDuet Digital Marketing Agency can help.

We Want To Talk To You About Your Marketing Goals.
Let’s Supercharge Your Online Growth!
By submitting the form, you agree to the Terms of Service and Privacy Policy
We Want To Talk To You About Your Marketing Goals.
Let’s Supercharge Your Online Growth!